Dynamic River Shader
Introduction
I set out to create a dynamic river shader, which would bend around intersecting objects. The idea came from some previous experimenting I've done in the past using Distance Fields in Unreal, primarily blending edges between landscapes and intersecting objects.
I decided to package the shader in an all-in-one blueprint featuring a custom spline for ease-of-use by a designer.
Features
• Real-time dynamic river shader.
• All-in-one Blueprint with easy customizability.
• Spline-based river mesh for ease-of-use.
• Underwater post-process effect.
• Water line wetness using decals.
Distance Fields
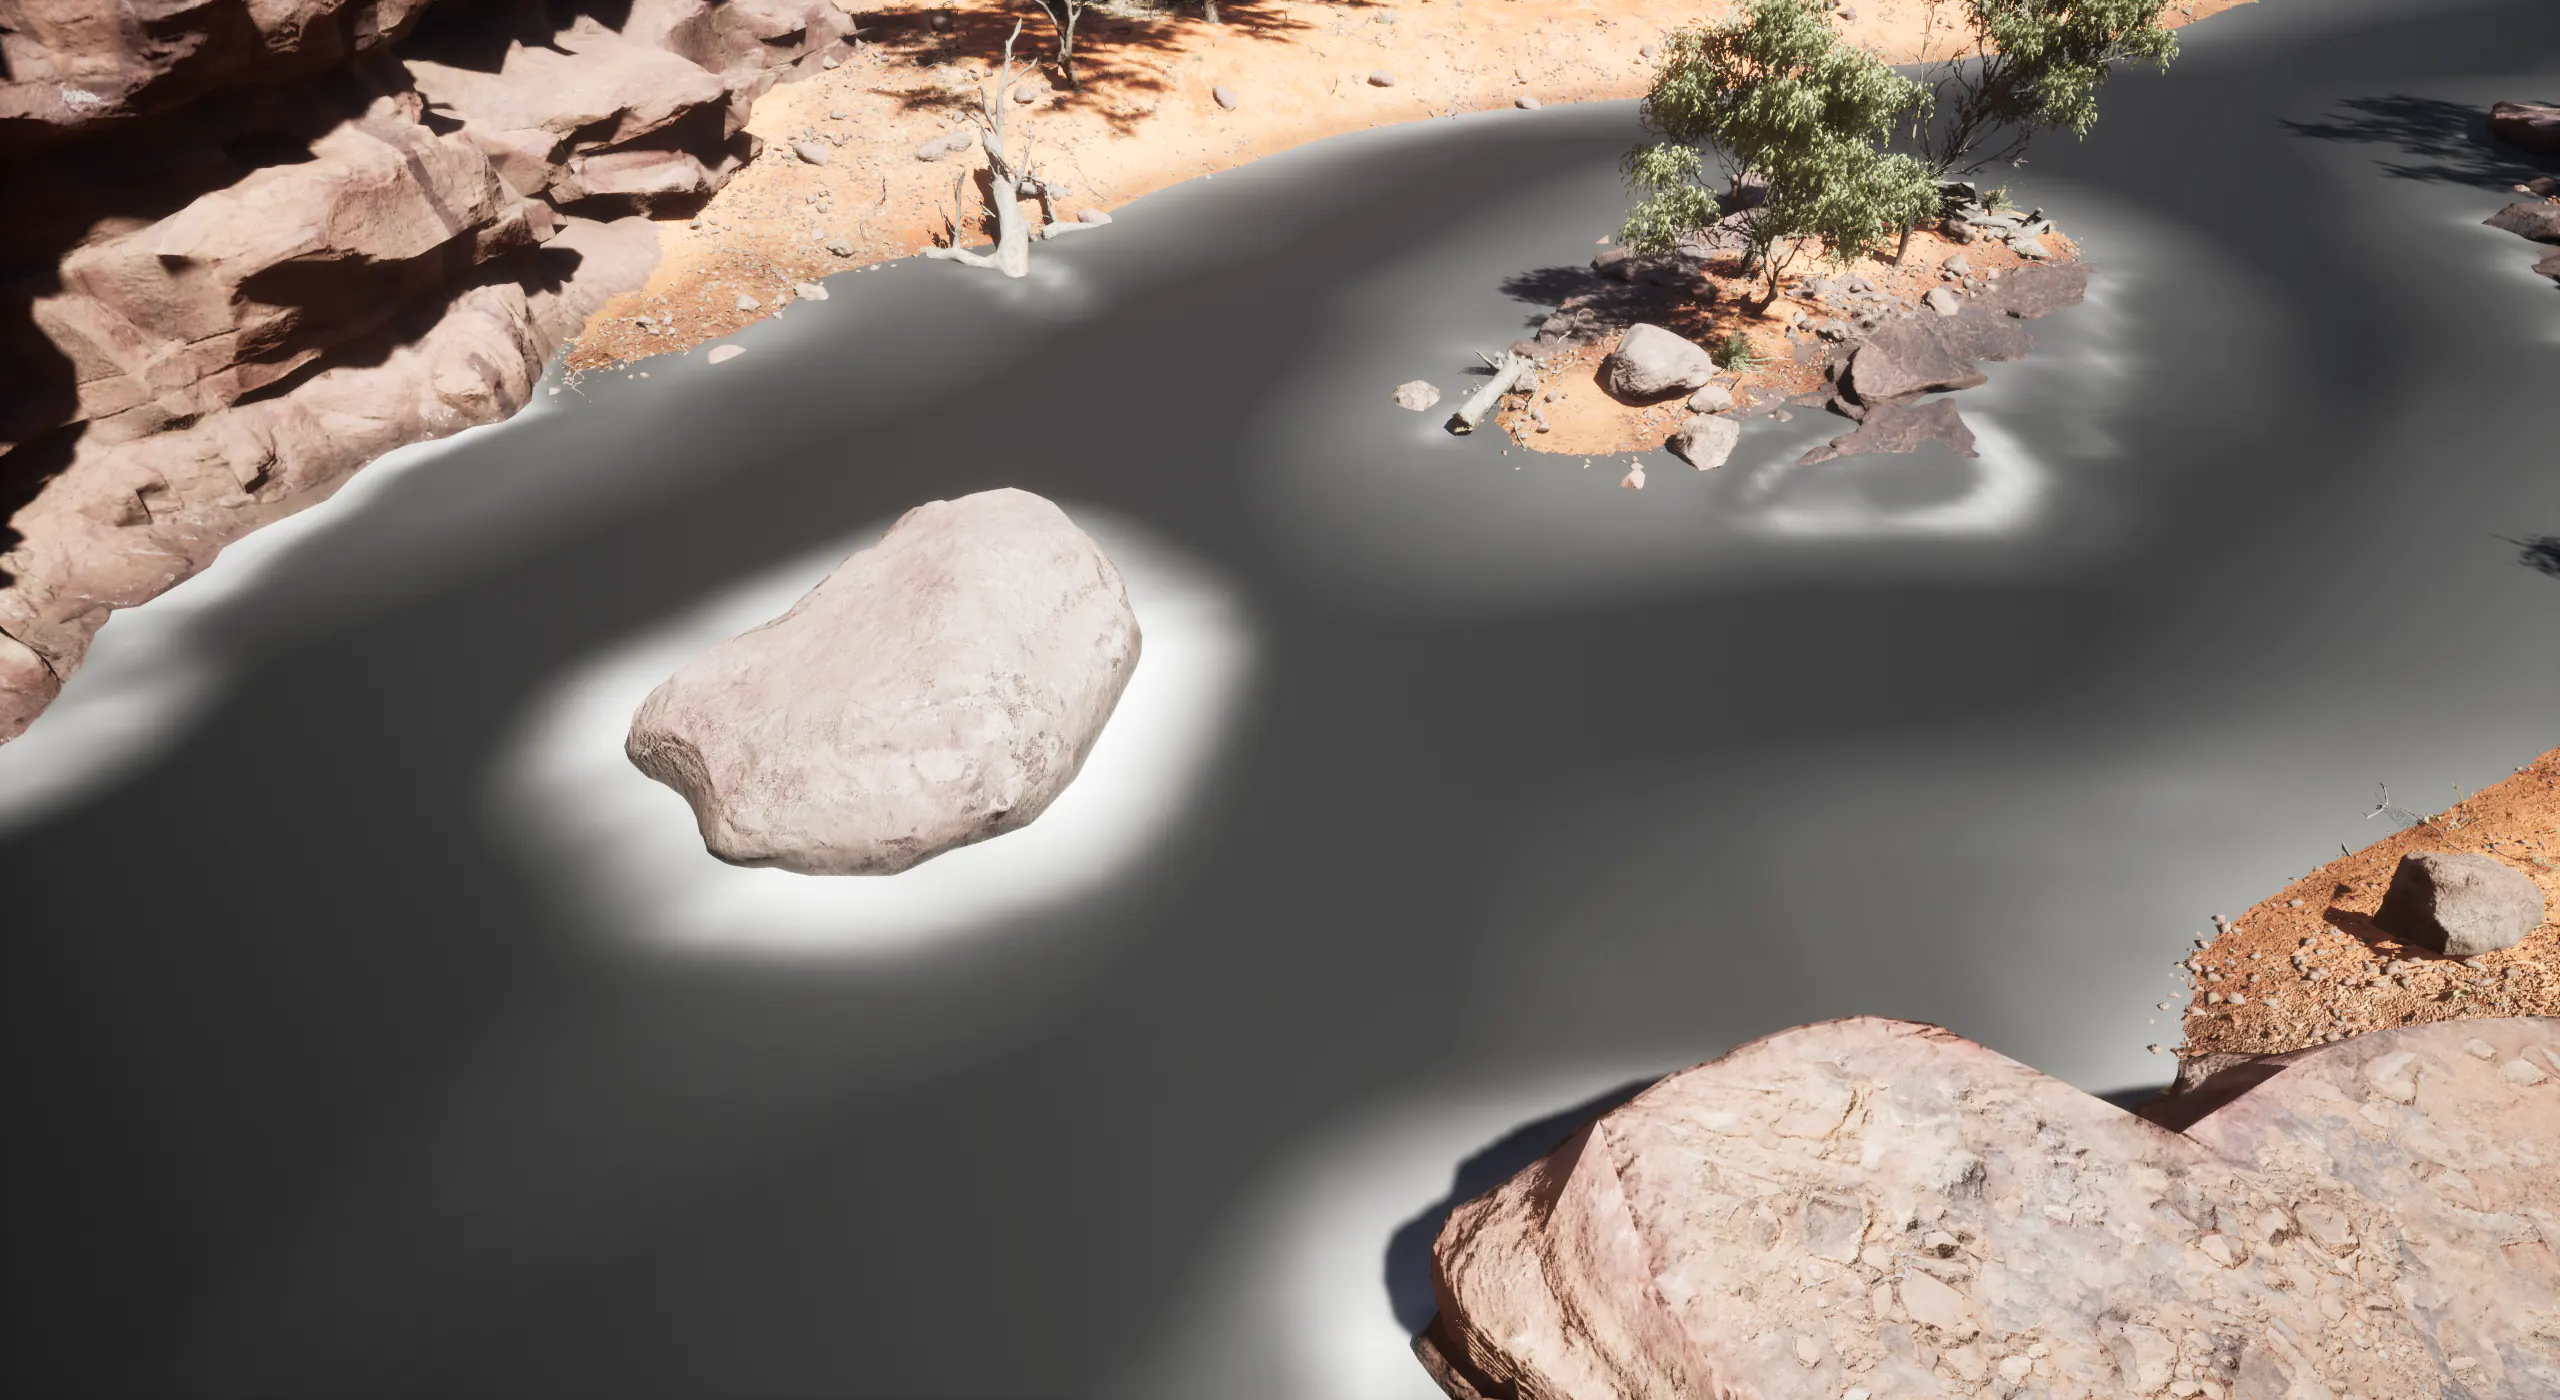
The shader relies heavily on Unreal's Distance Fields to get intersecting objects and their sides in relation to the water surface direction.
The most important node, which makes the entire shader possible, is "DistanceFieldGradient".
Using the gradient together with the surface mesh tangents in world space, I can determine the left and right side
of an intersecting object.
To control the distance of the gradient I use the "DistanceToNearestSurface" node, which act like a mask.
With the resulting gradient I bend the surface mesh UVs smoothly around objects.
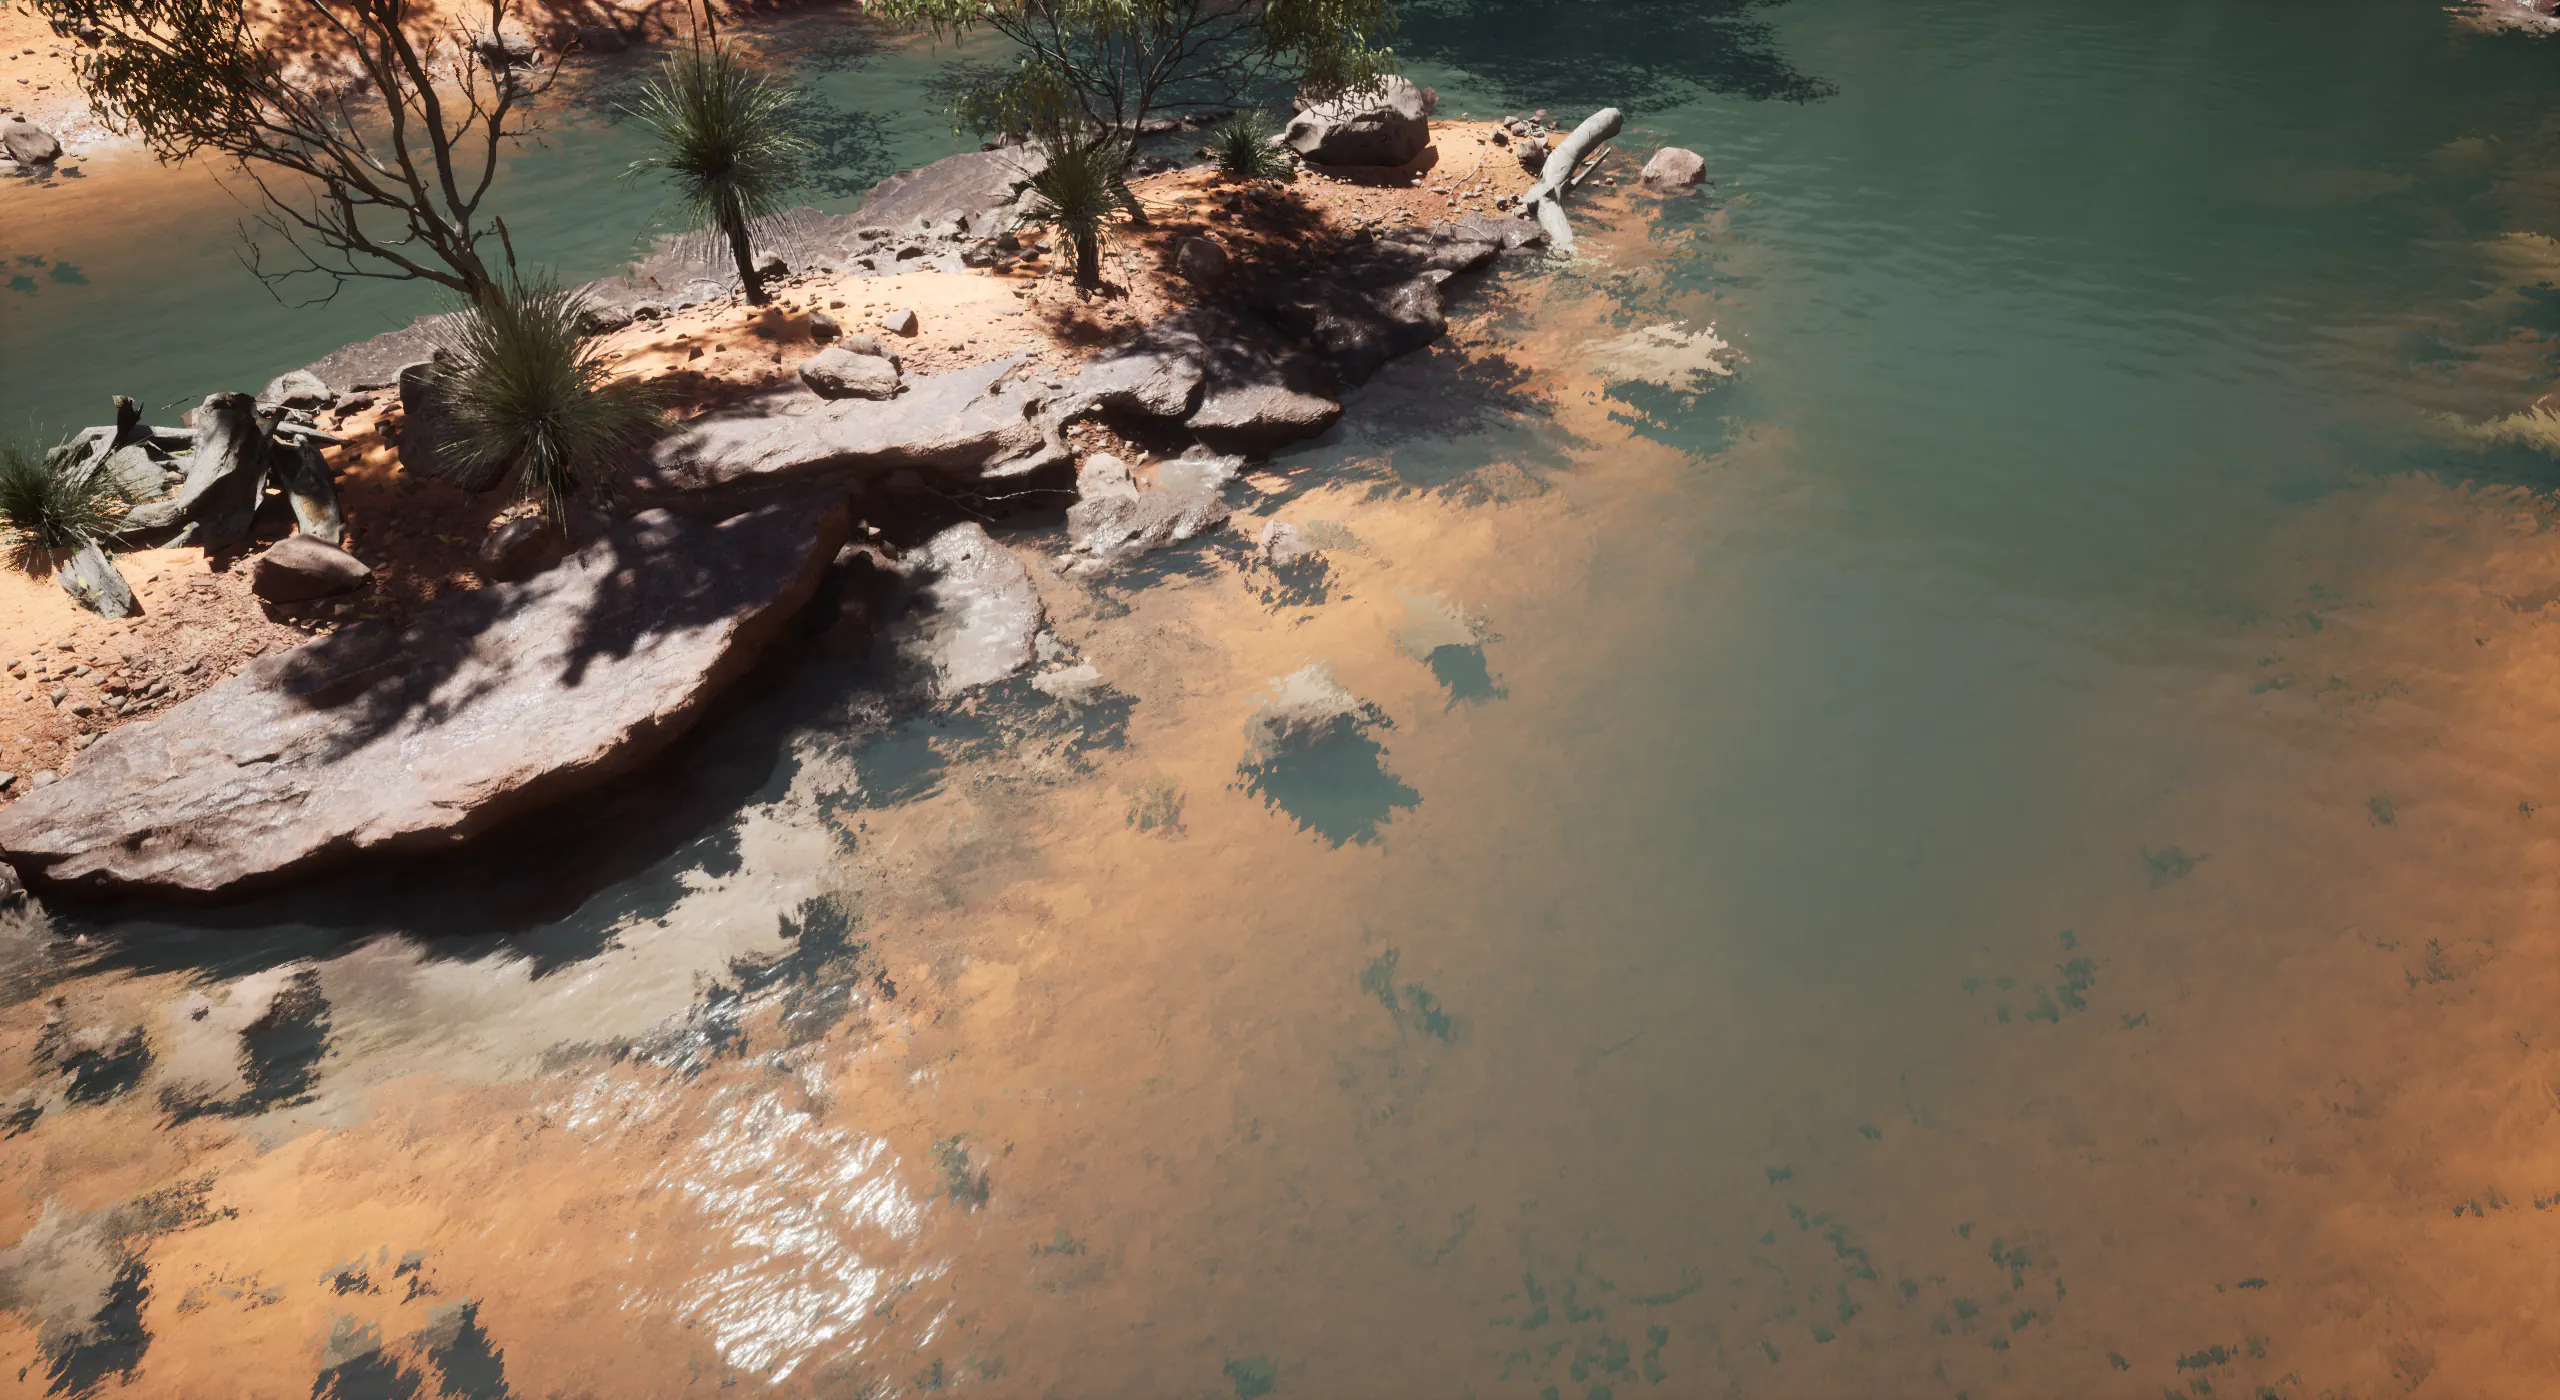
To add some variety to the surface normals I use the bent UVs in a "Motion_4WayChaos" node.
Using the "DistanceToNearestSurface" node I can again, as a mask, make the areas further from the water edges to appear calmer.
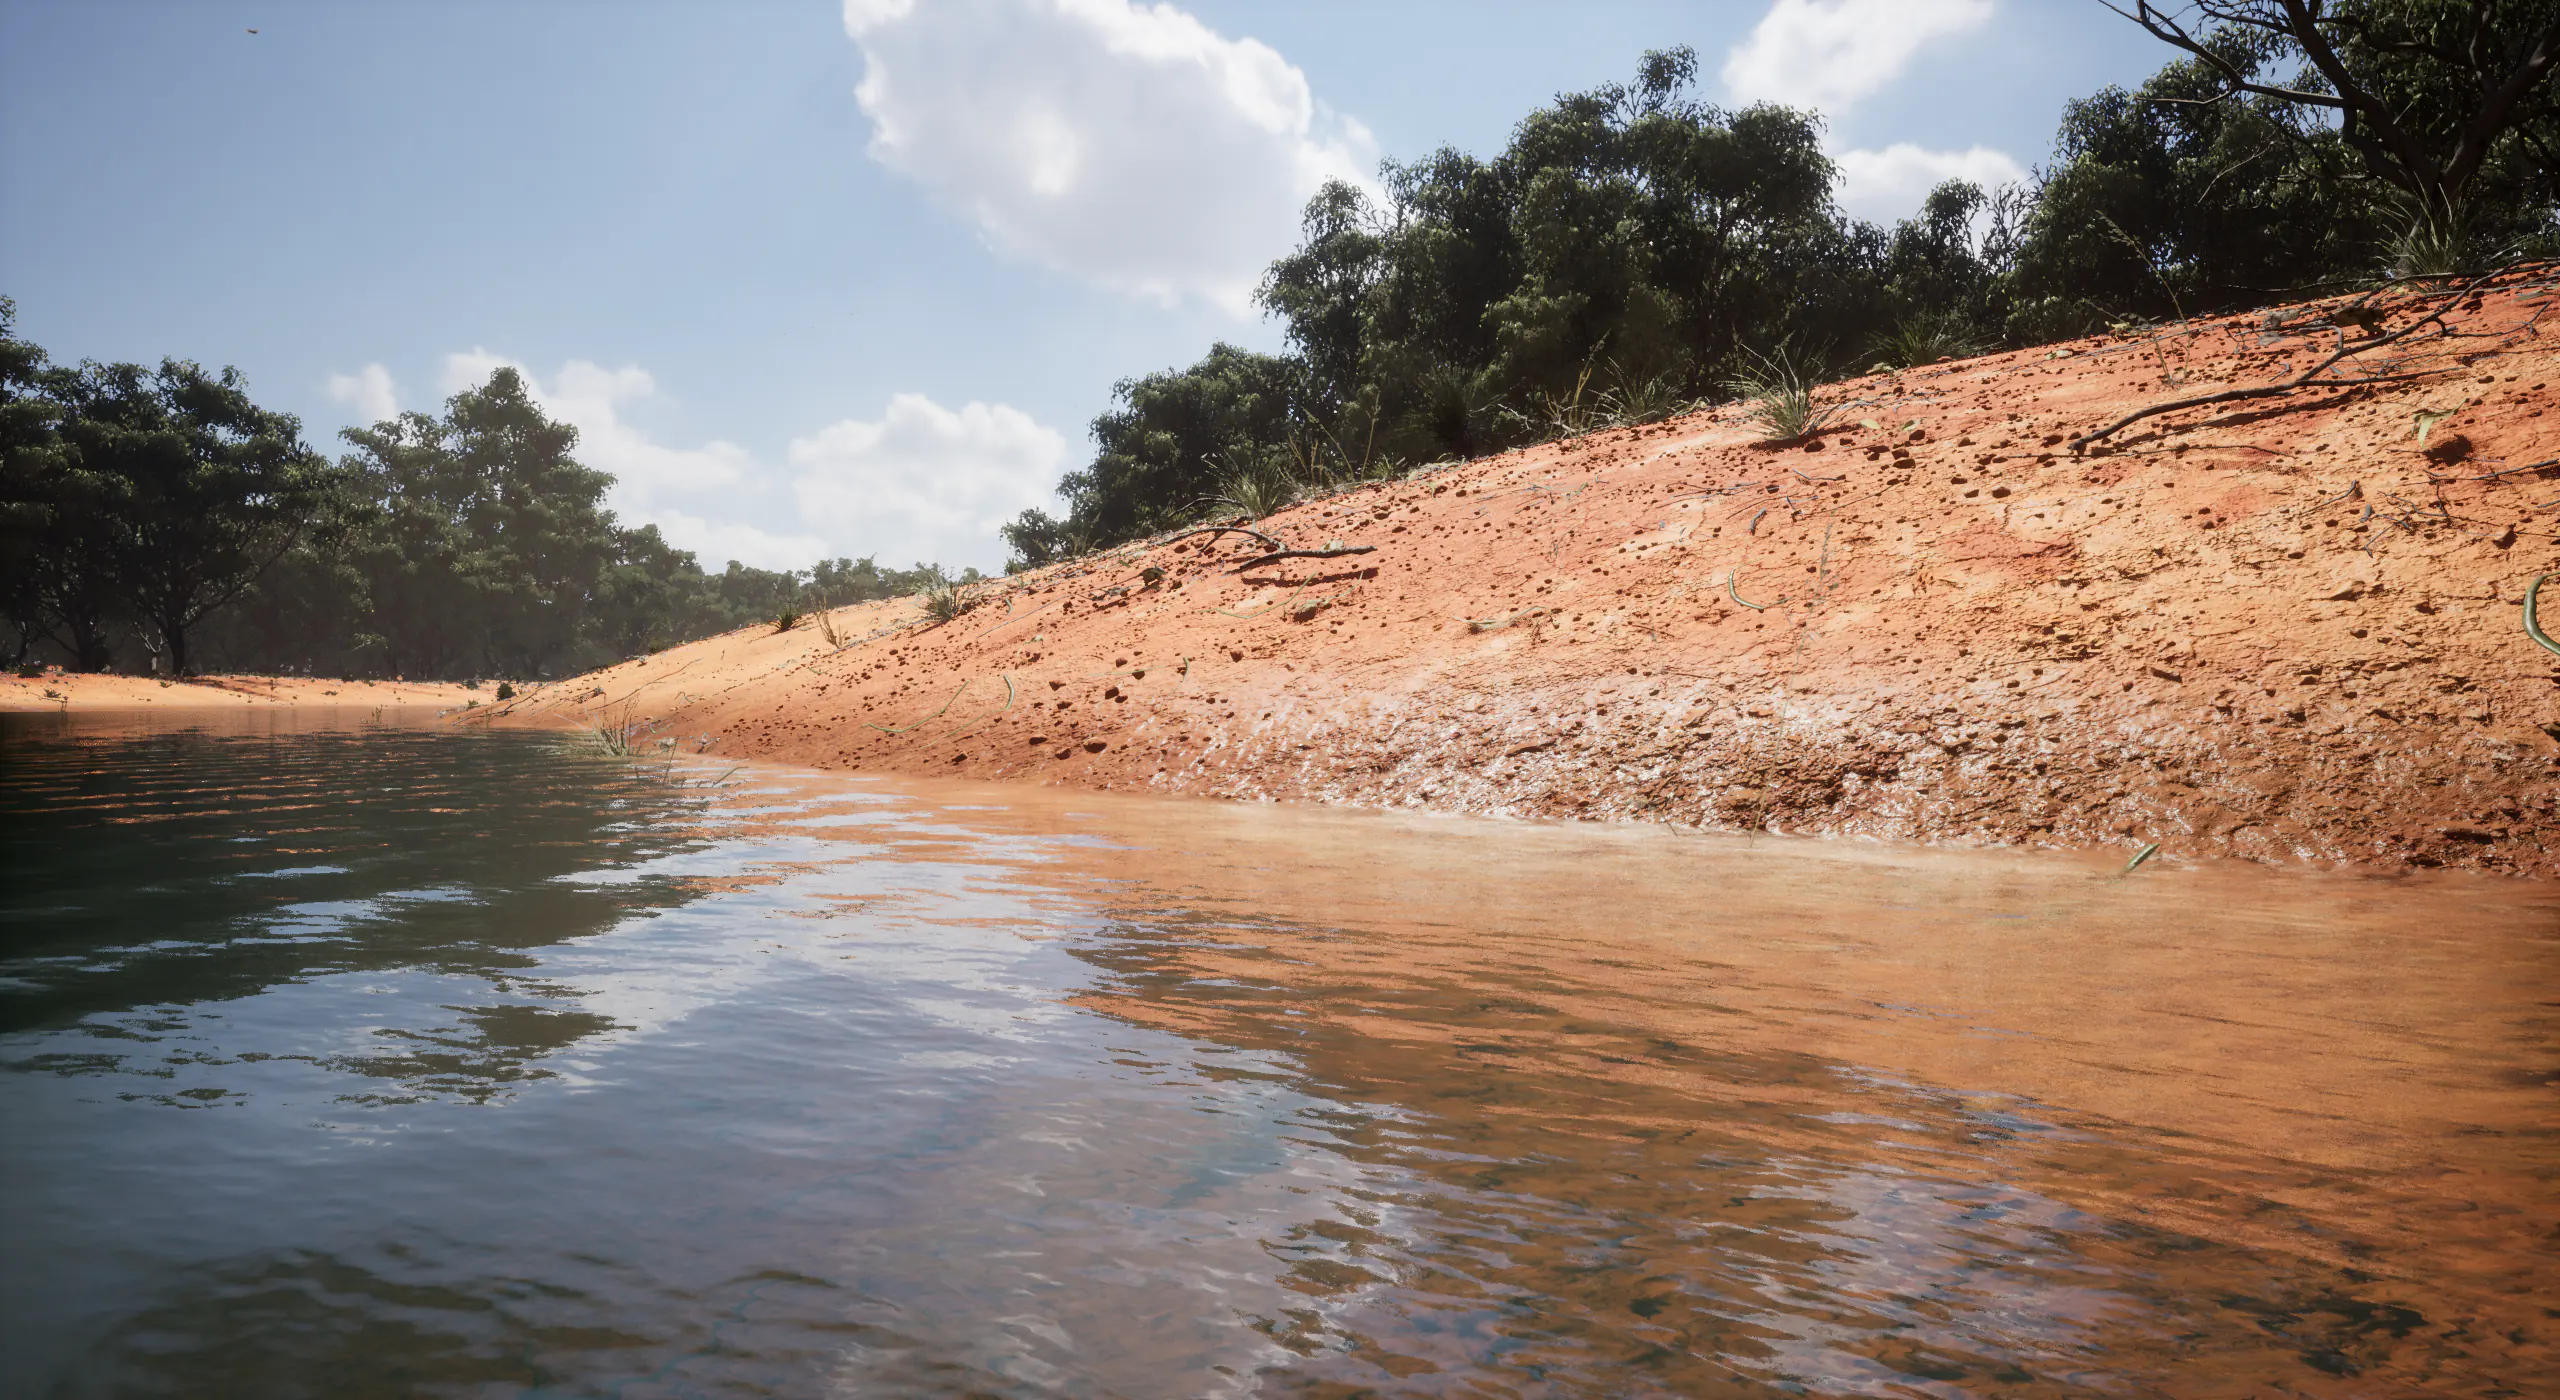
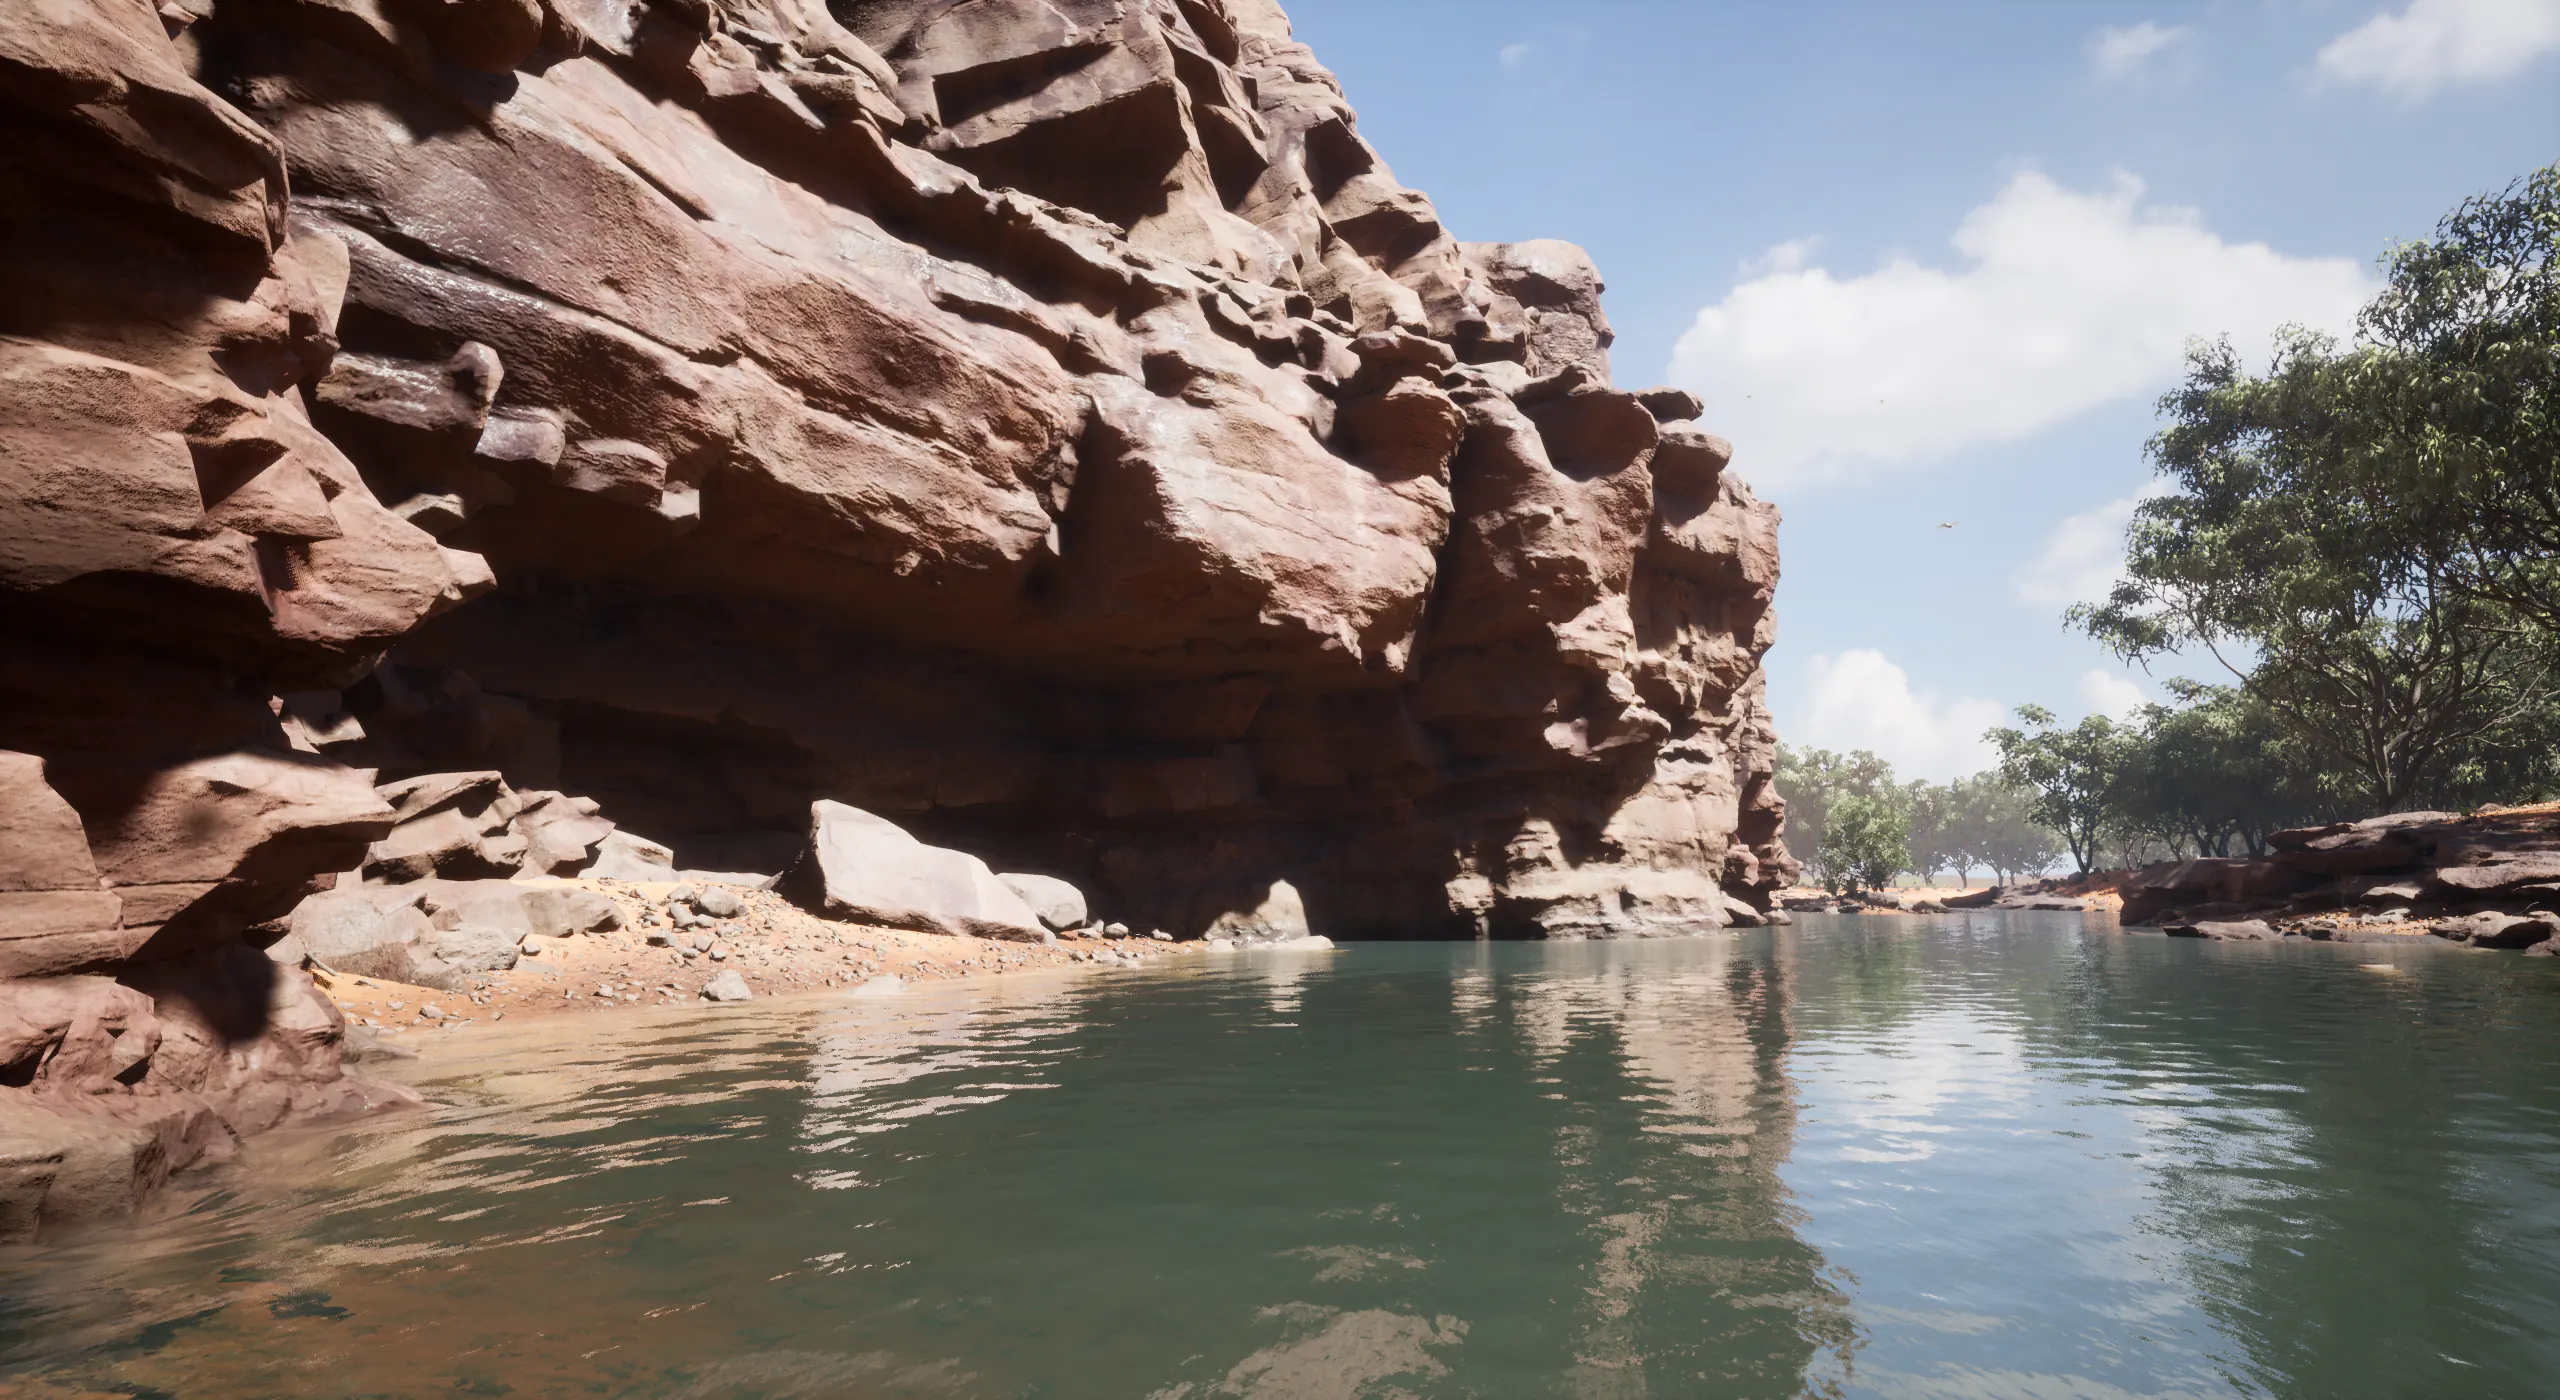
Water Surface
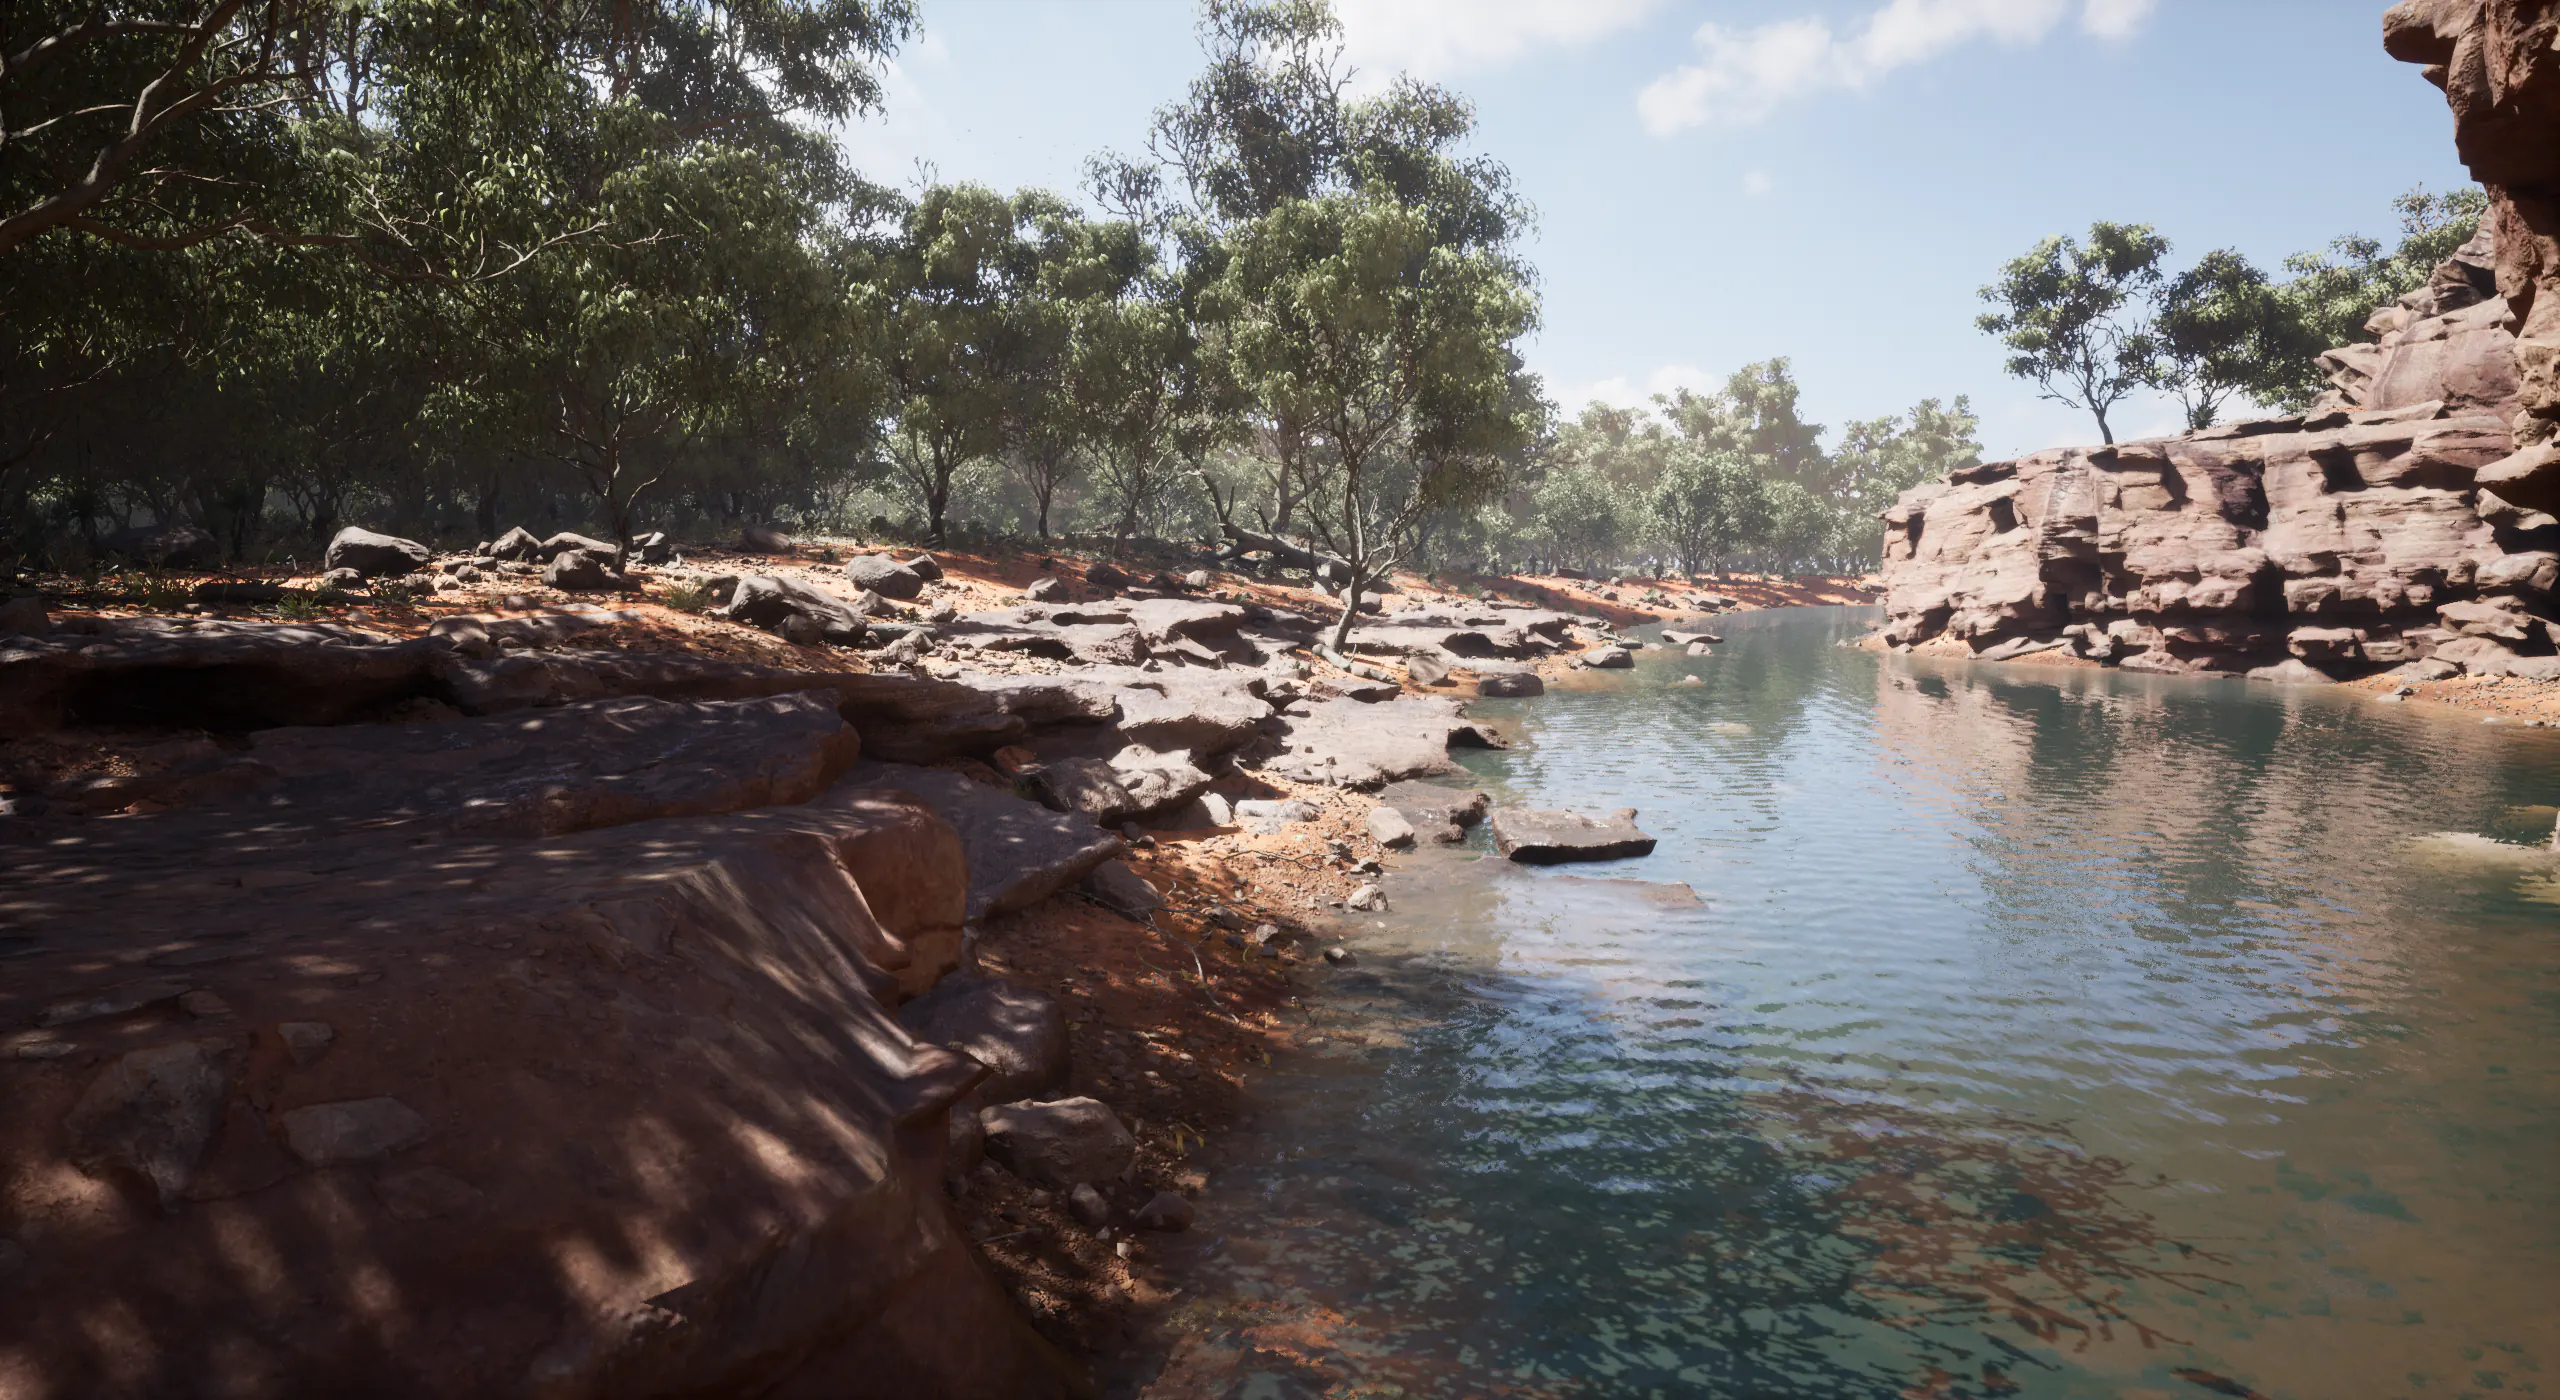
As I had made the choice to present my work in a realistic photogrammetry environment I wanted to use UE4's relatively new "SingleLayerWater" shading model. With this it was fairly easy to get the surface looking very good using real-life scatter and absoption coefficiencies.
Custom Spline
I wanted to make the river easy to use by packaging it in a custom spline. This way a designer could place it in a level and iterate on it instantly, throughout the process, without the need to leave the editor.
To further enhance the experience the user can work non-destructively using Unreal's landscape layers. It allow the user the same control as the built in landscape splines, deformation and painting, with the added benefit of not needing a specific landscape spline layer.
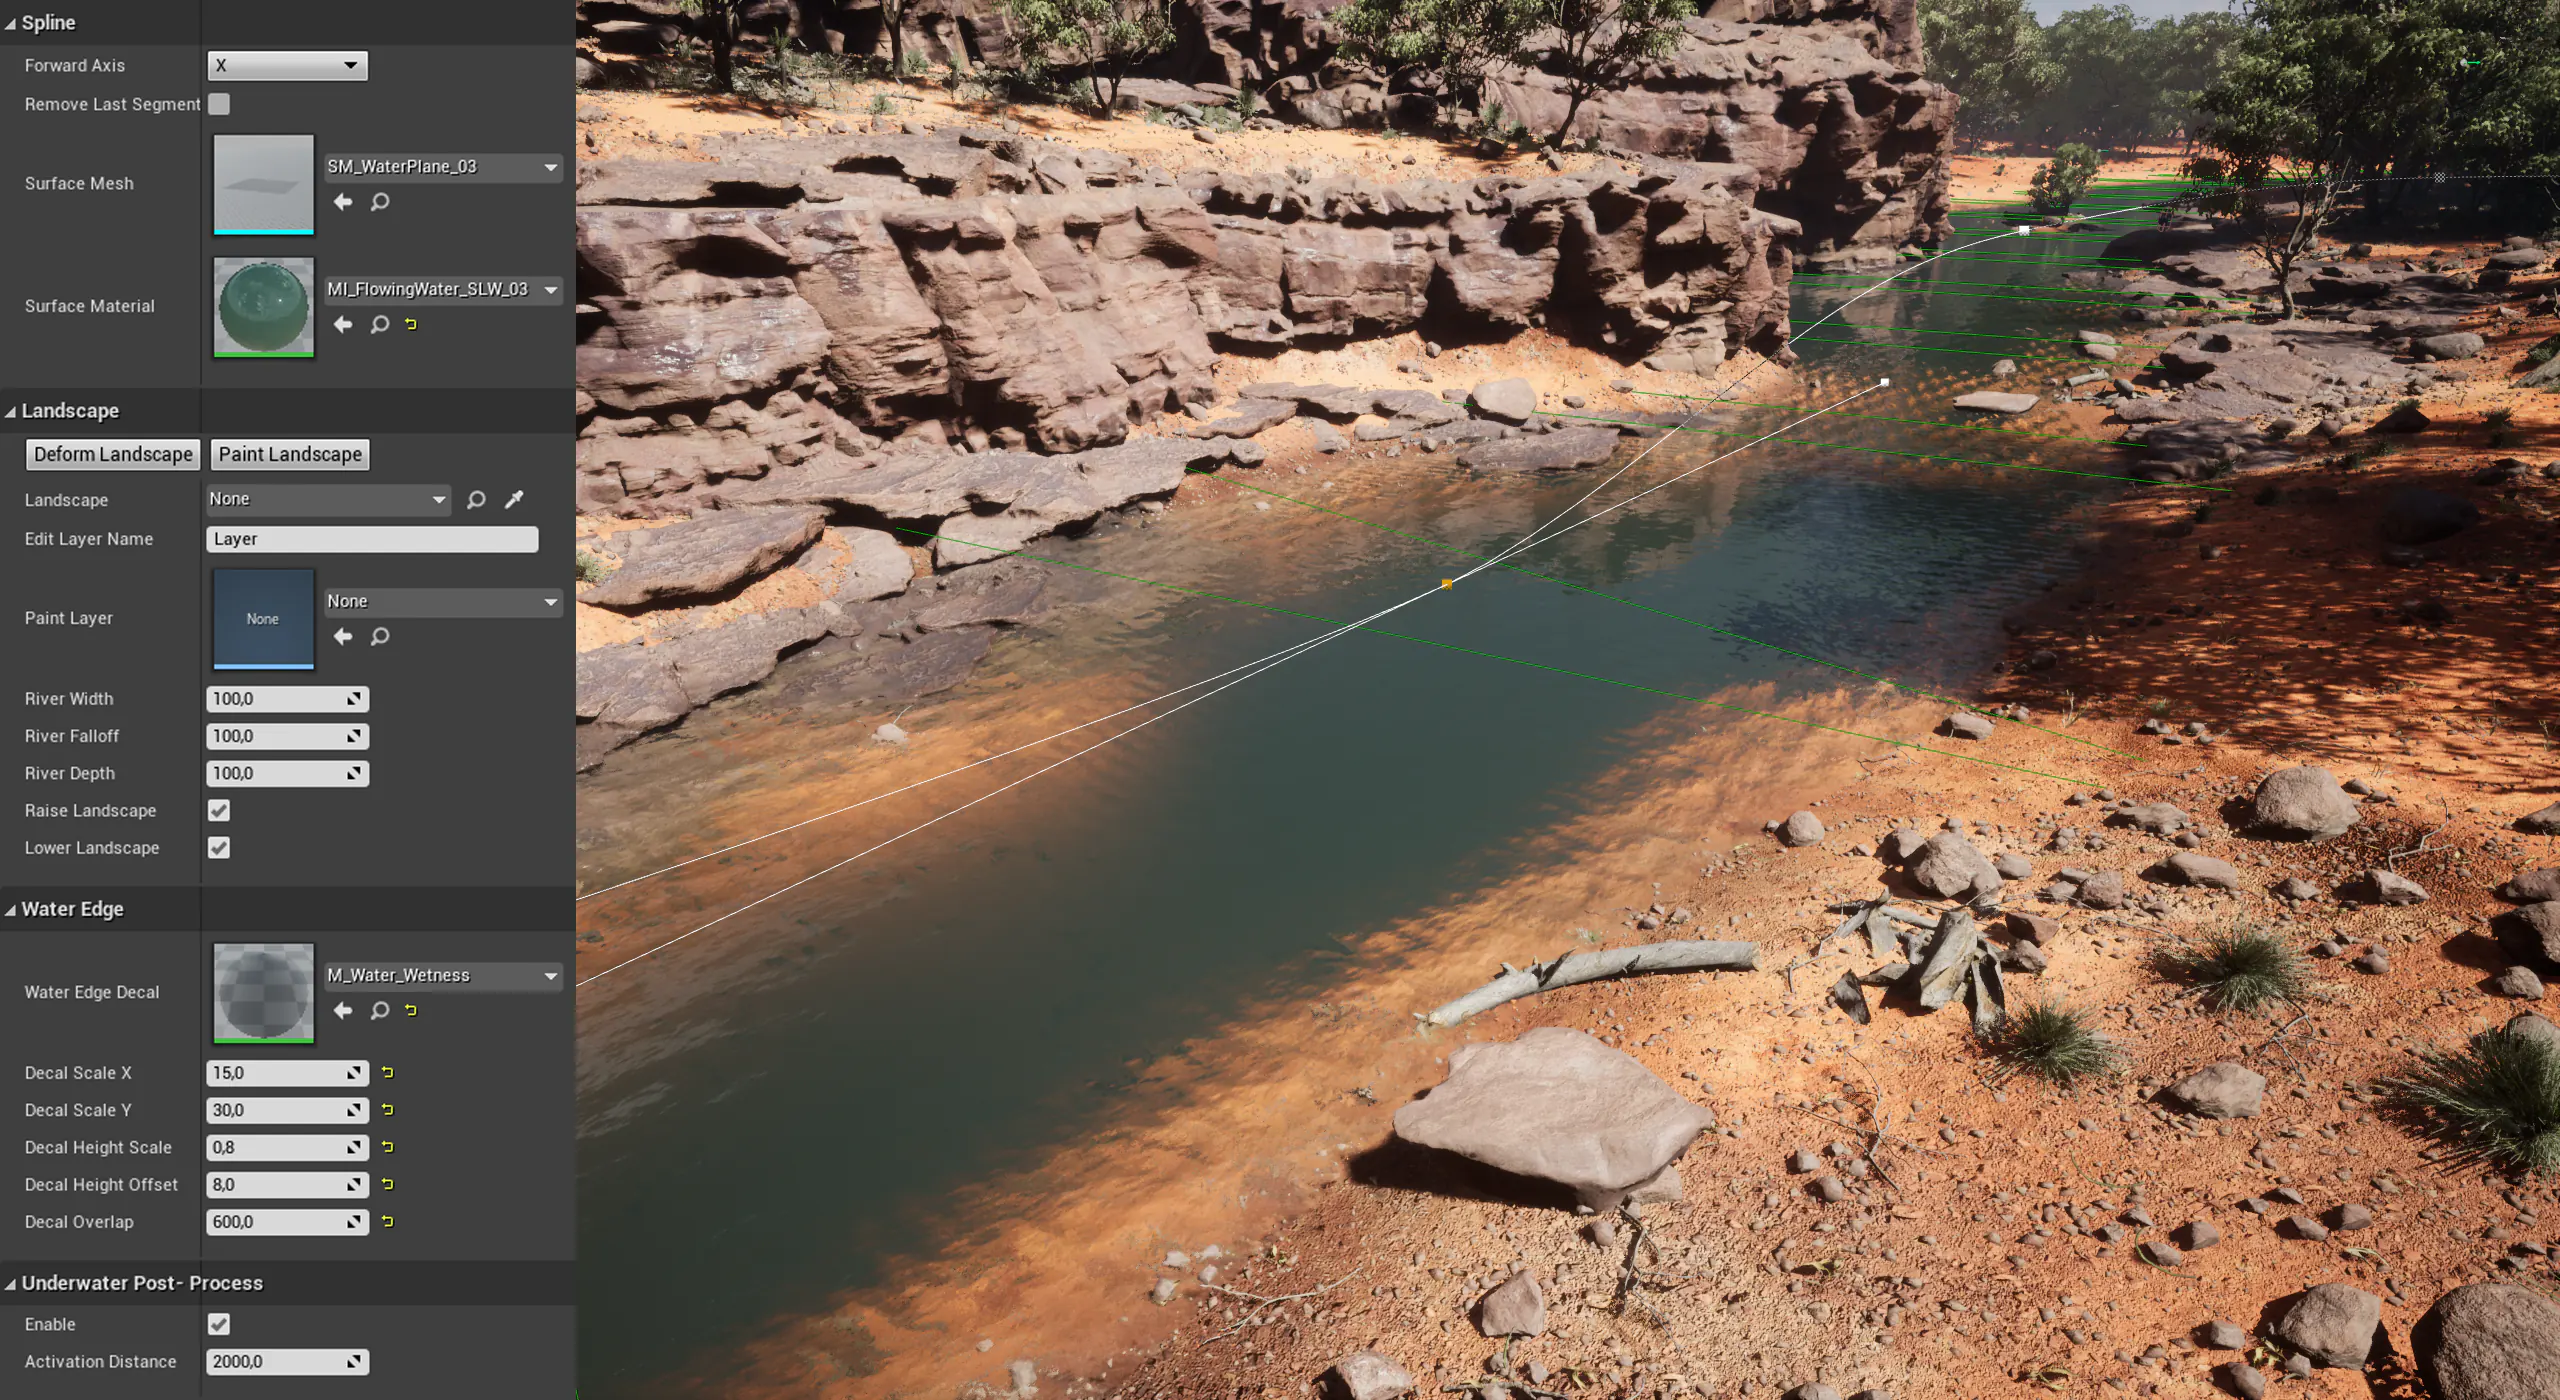
Water Wetness
To make the impression that the water is actually wet, I needed the water line to appear wet along the entirety of the river.
My inital idea was using vertex colors and/or additional landscape layers.
However, I saw the easier and less destructive solution as simply using decals. Because I'm already using a spline it was easy to instantiate decals along its length. It's a simple transparent, slightly tinted, low roughness material.
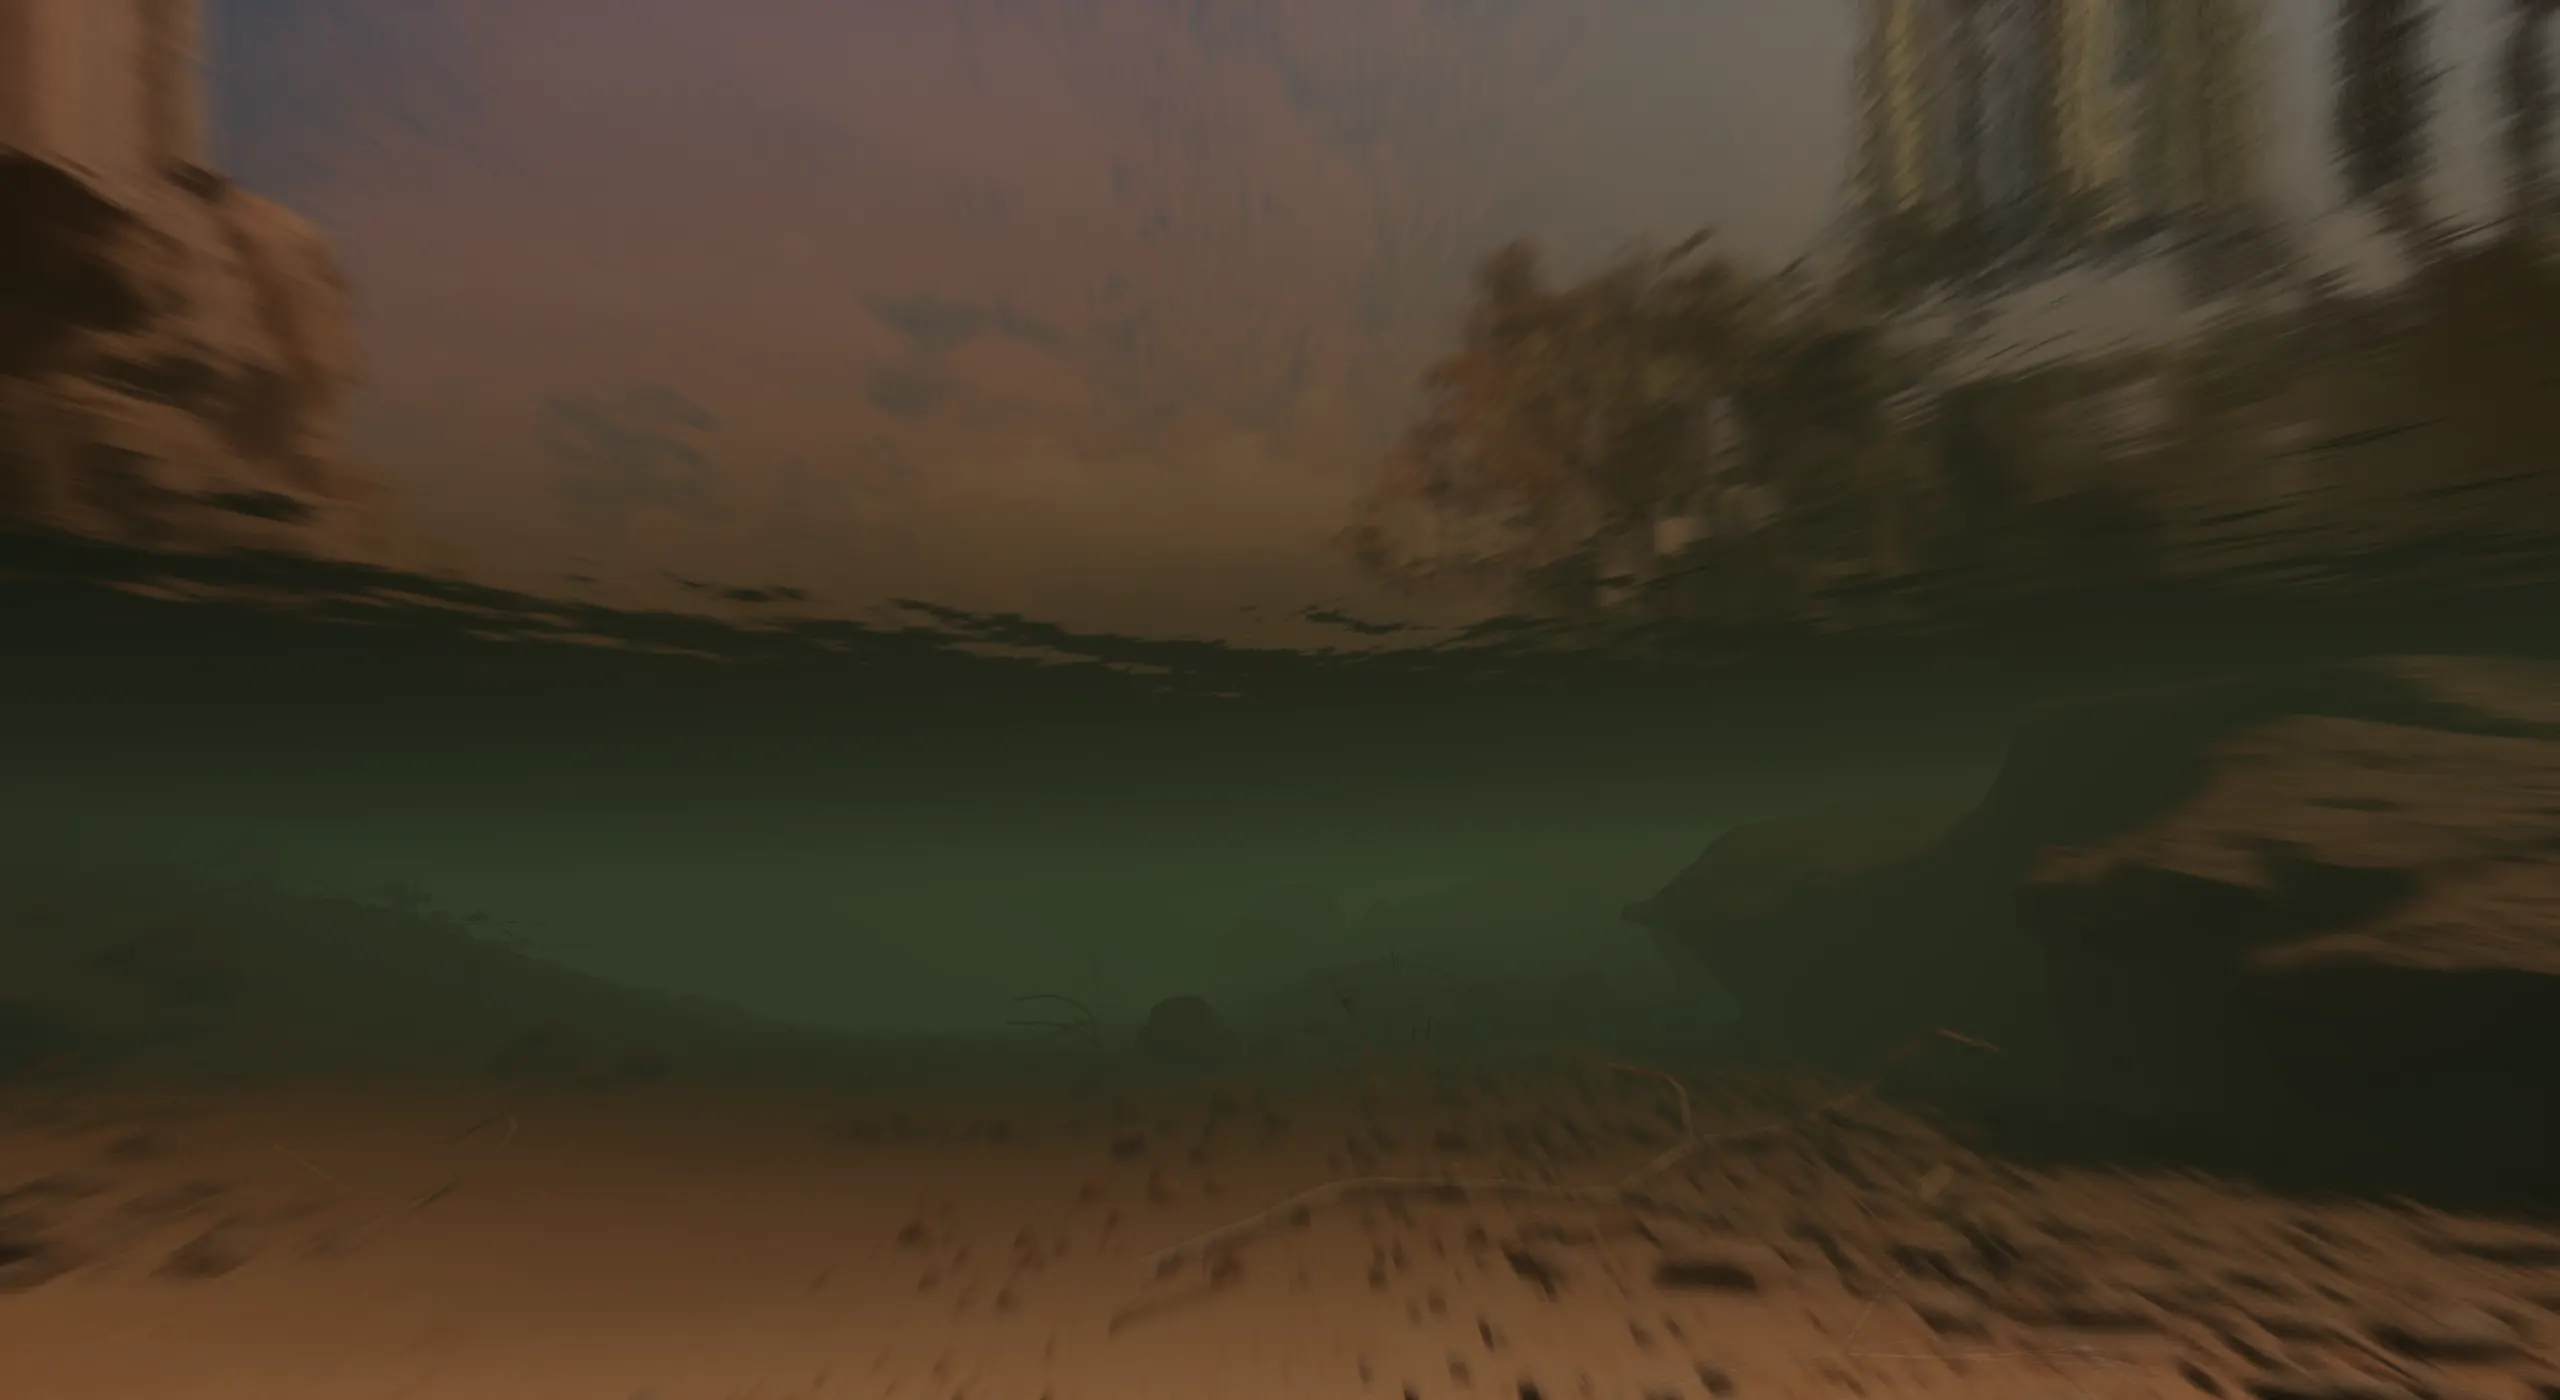
Underwater Post-Process Effect
Because I wanted the blueprint to be a complete package, I decided to include an underwater effect as well. It uses the same coefficiency calculations as the surface for one unified look.
The post-process volume can be toggled on and off through the blueprint depending on the use. When enabled, it uses a max distance between the camera and the spline, exposed in the blueprint, to enable and disable the effect for optimization.
Conclusion
With more time on the project there's some things I would've liked to do.
The biggest optimization would've been the option to bake the UVs to a texture. Another thing would be for the post-process effect to support an uneven surface and height difference.
Thank you for reading!
Credits
Rural Australia by Andrew Svanberg Hamilton